|
|
Post by RedRimmed Desert on Jan 24, 2015 20:35:19 GMT -6
1. Find the Add Attachment tab in the upper right corner of message editor.  2. Click the Add Files (red circle) then the insert button will appear when your photo is uploaded. Please note that if you don't use the insert button, it will be an attachment at the bottom of the post.  3. Click Done in the lower right of upload box. Your image won't show up until the post is submitted. More photos can be added later, the Add Attachment tab will now read Edit Attachments. Be sure to click after each attachment code line and press enter twice, to put the cursor (blinking line where text can be typed) below leaving a space. Do the same for where text lines are also. Then click done at lower right again. Please note, another insert button will appear after each uploaded photo (make sure the right button is used).  Use the browser back arrow to return to post after viewing an image. |
|
|
|
Post by RedRimmed Desert on Mar 27, 2015 19:15:13 GMT -6
I cut down the number of posts to a page, so you don't need to scroll as much to find info. It will help uploading to keep your inserted or attachment photos under 300 KB. For PhotoBucket use the code box that says direct link. The alt text is what shows up when the computer mouse is over the photo. The image insert for PhotoBucket direct link box (click in box on PhotoBucket to copy) is the 7th button from the right upper corner (count moving left).   |
|
|
|
Post by RedRimmed Desert on Mar 28, 2015 10:15:31 GMT -6
Using the direct link from PhotoBucket, this is how photos will display, The Alt text is "Bleeding Heart flowers". 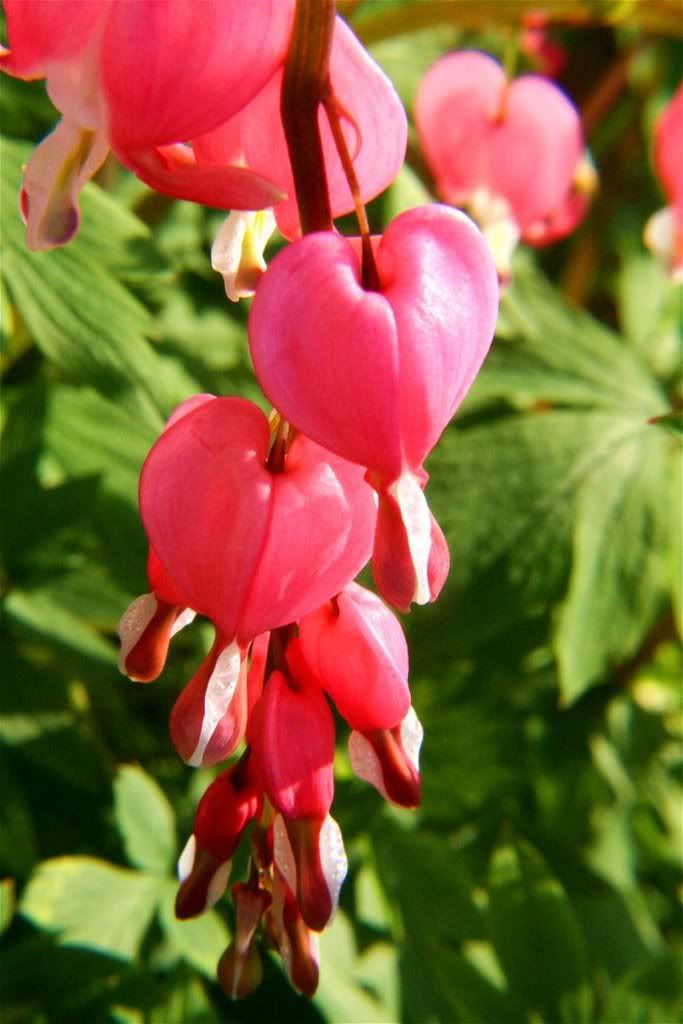 The forum is set to size images to fit the post, rather than making scroll bars for very large photos. |
|


 I'm having a very "Happy B-Day" today!